Steamed Chiffon Cake 蒸戚风蛋糕
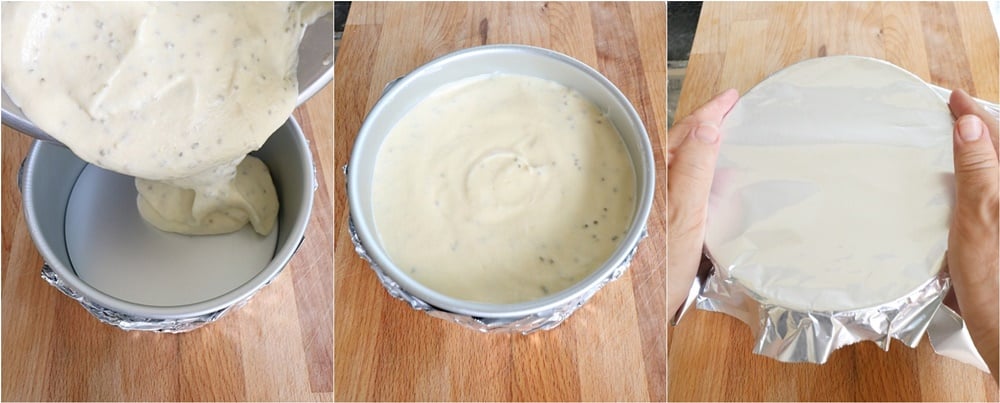
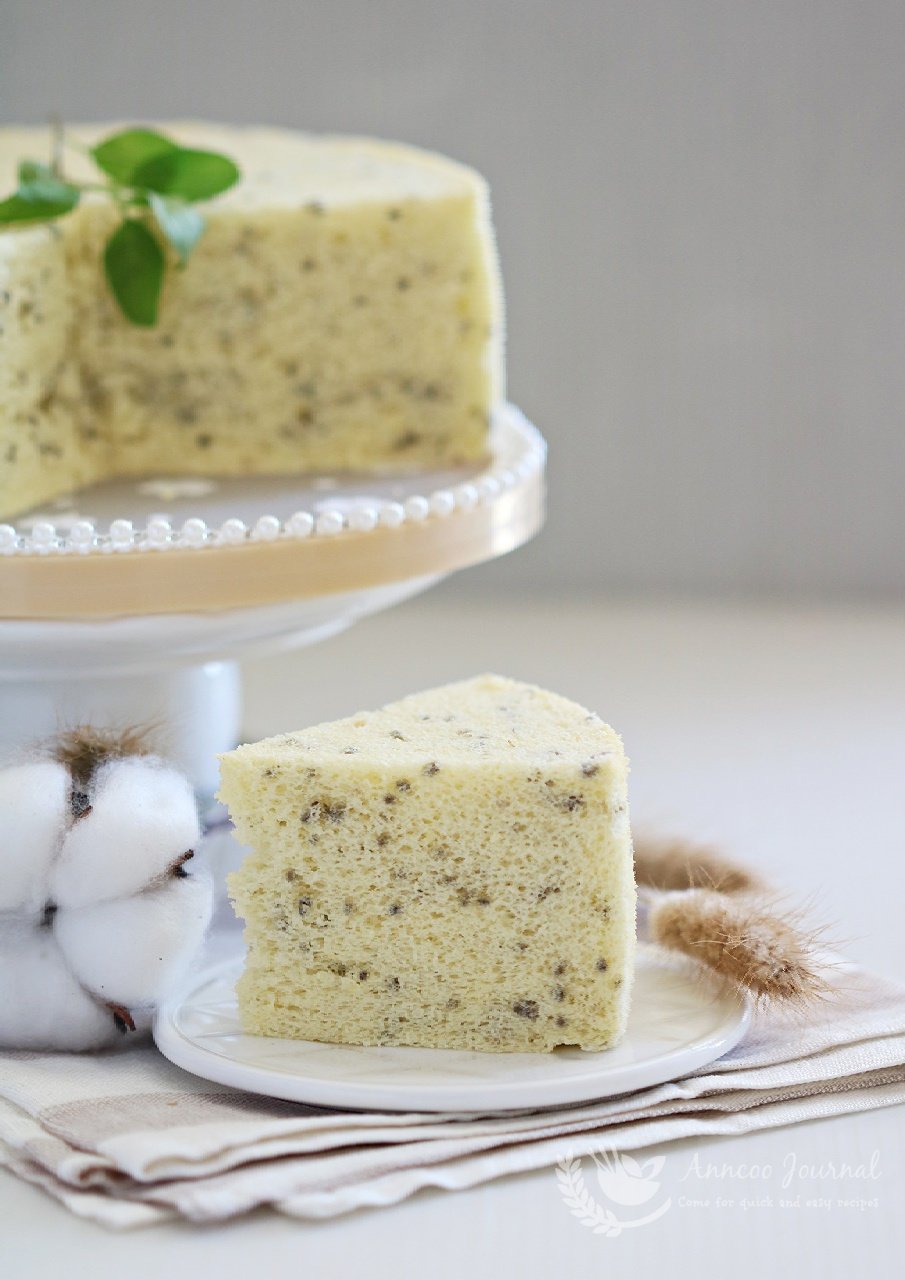
If you’re tired of baking a chiffon cake, why not try to steam it. This Steamed Chiffon Cake is moist and tender. The small cake came out perfect without any blemishes and there wasn’t any crusty side. The method of making this chiffon cake is exactly the same as for the baked one. Just bear in mind that that the cake pan needs to be wrapped with aluminium foil to prevent water seeping through while steaming. Another piece of foil covered tightly on top to prevent water vapour wetting the surface of the cake. Just prick some holes on the foil with a skewer to release hot air while steaming to get a nice even cake.
As it is a plain healthy cake, I’ve added some black chia seeds but you can also change the flavour from milk to unsweetened soya milk, coconut milk or even pandan juice if preferred.



Steamed Chiffon Cake
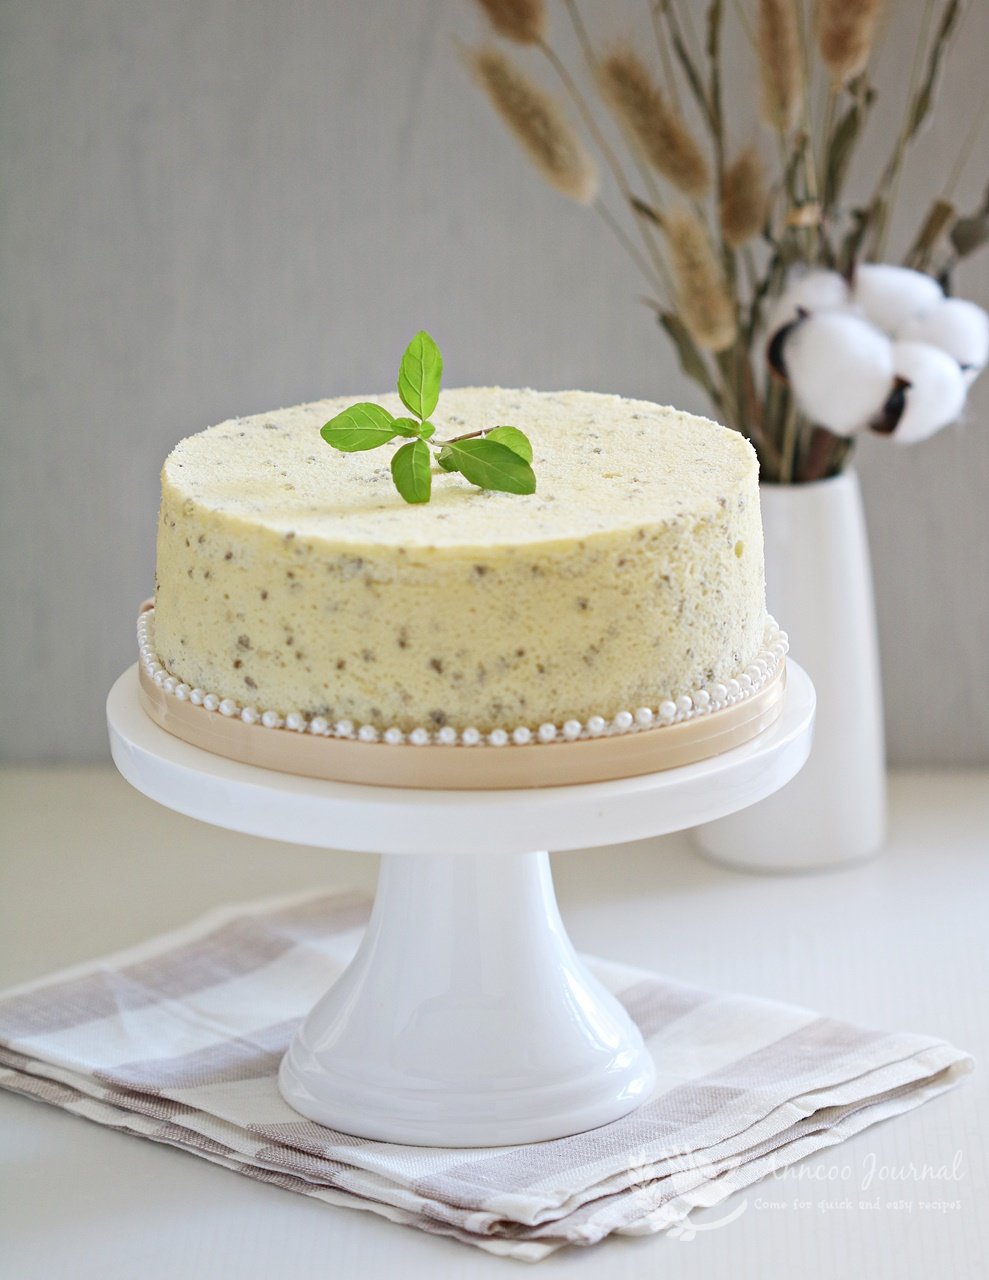
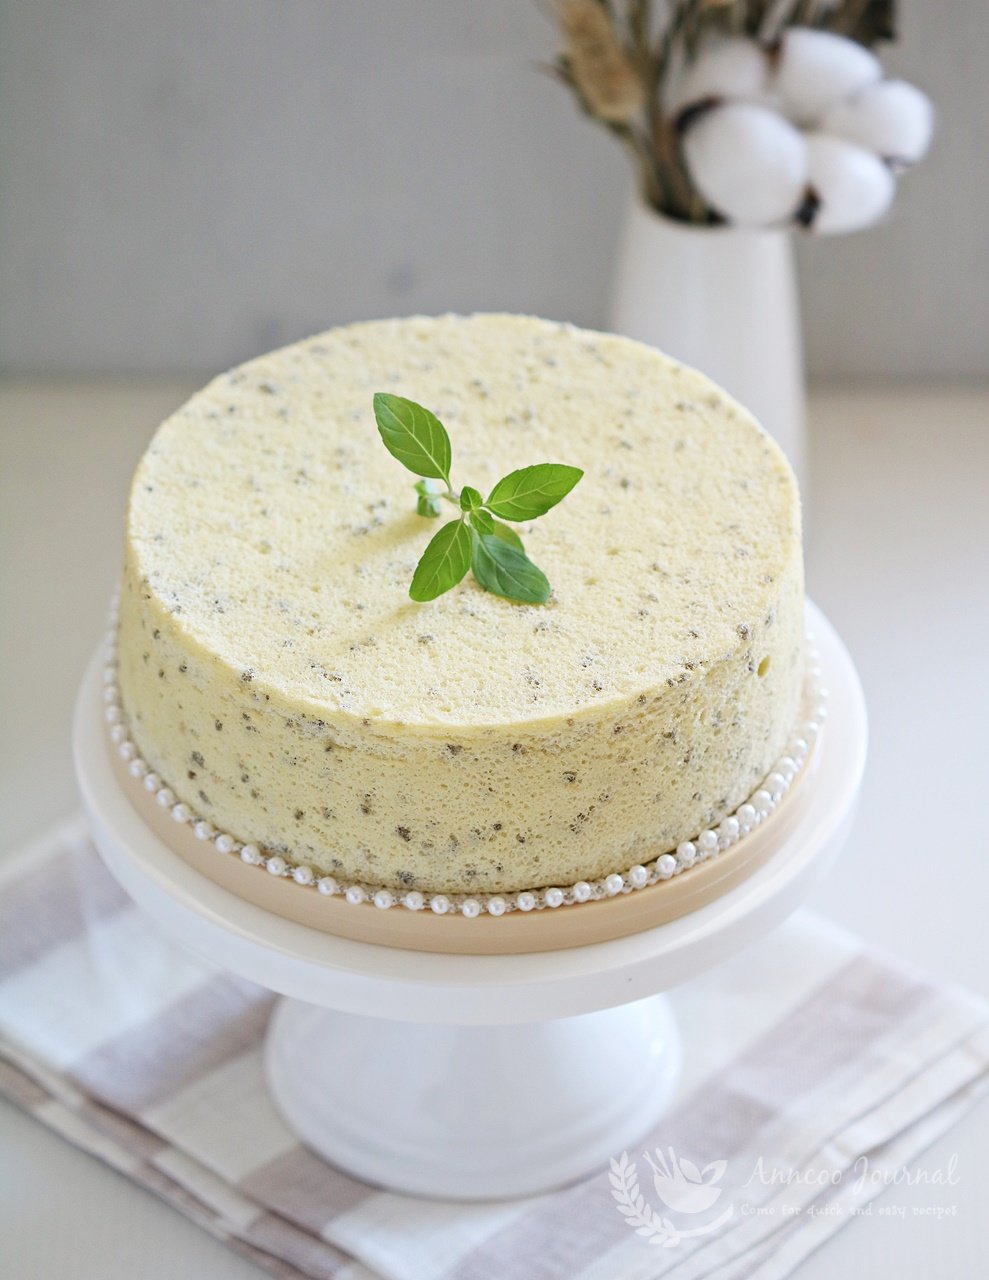
This moist and tender steamed chiffon cake came out perfect without any blemishes and there wasn't any crusty side.
Ingredients
- 3 egg yolks - used 65g egg
- 2 tbsp fresh milk
- 1 tsp vanilla extract
- 2.5 tbsp corn oil
- 50 g cake flour/plain flour
- 1 tbsp orgainic black chia seeds - optional
- 3 egg whites
- 45 g caster sugar
Instructions
- Boil a pot of water to boiling point, off heat and set aside. Wrap a 6 inch cake pan with aluminium foil to prevent water seeping through the pan while steaming (no need to grease the pan).
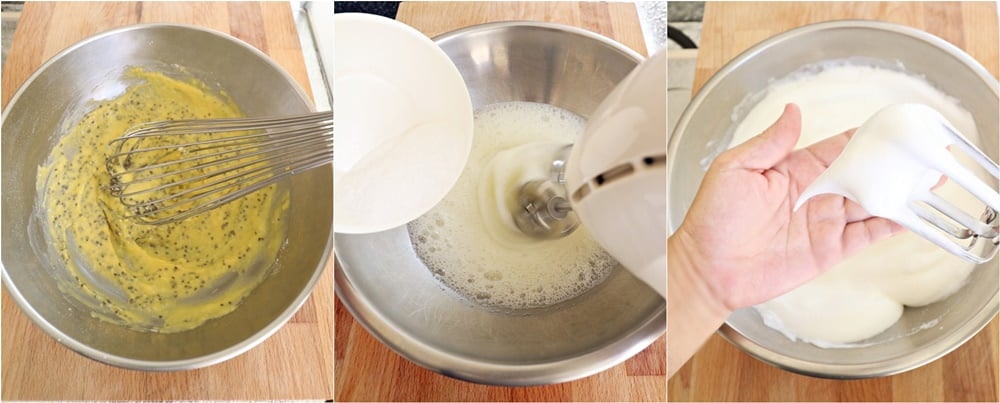
- In a bowl, add egg yolks, milk, vanilla extract and oil together and stir well. Sieve in flour and blend well again and stir in black chia seeds.
- Whisk egg whites to peak forms (turn on the pot of water again at high heat before whisking the egg whites), add sugar in 3 portions.
- Take out 1/3 of the meringue to the batter and mix well. Then pour it back to the remaining egg whites, gently fold well with a rubber spatula.
- Pour batter into cake pan and gently drop pan on table top to release air bubbles. Cover the top tightly with another piece of aluminum foil. Then prick some holes on top with a skewer to release hot air while steaming.
- Turn down heat to medium low (water at gentle boiling stage), place the cake pan inside the steamer, covered with lid and steam for about 40 minutes.
- When the cake is cooked, drop the cake on table top a few times to prevent shrinkages. Invert the cake pan immediately to cool completely before removing the cake from pan.
Nutrition
Calories: 90kcalCarbohydrates: 1gProtein: 3gFat: 8gSaturated Fat: 1gTrans Fat: 1gCholesterol: 98mgSodium: 29mgPotassium: 35mgSugar: 1gVitamin A: 130IUCalcium: 13mgIron: 1mg
Tried this recipe? I would love to see it!Mention @ann_journal or tag #ann_journal!
Enjoyed this post? Never miss out on future posts by following >> Anncoo Journal!
蒸戚风蛋糕 Steamed Chiffon Cake
平时都爱吃烤戚风蛋糕, 今天就不要用烤箱了,把蛋糕”蒸”出来。 蛋糕出来的效果真的很棒, 蛋糕边缘没有一圈焦, 脱模容易也很平整, 非常的滋润。 大家不妨试试看~
材料:
- 3个 蛋黄 (鸡蛋一个65克)
- 2汤匙 牛奶
- 1茶匙 香草香精
- 2.5汤匙 玉米油
- 50克 底筋面粉/中筋面粉
- 1汤匙 有机黑奇异籽,可不放
- 3个 蛋白
- 45克 细砂糖
做法:
- 预先烧开蒸笼的水,然后熄火备用。准备一个6寸圆活动烤盘(盘内不用抹油),外围用锡纸包严实(以免蒸蛋糕的过程中水进入蛋糕体 )。
- 碗中放入蛋黄,牛奶,香精和油,混合均匀。筛入面粉再拌匀。加入黑奇异籽,搅拌均匀。
- 再次烧开热水. 这时候把蛋白打致起泡泡,细砂糖分3次加入,打致硬性发泡。
- 取出约1/3蛋白霜到面糊里,用橡胶刮刀翻拌均匀。然后把面糊倒入剩余的蛋白霜拌里,轻轻的翻拌均匀即可。
- 将面糊倒入烤盘中,轻轻的敲出气泡。盖上一张锡纸直接把蛋糕烤盘封起来。然后用竹签在上面扎一些孔洞让蛋糕蒸的时候能够透气。
- 将烧开的水转入中小火(水保持在微滚的状态就可以了),蛋糕盘放入蒸笼里,盖上盖蒸约40分钟左右即可。
- 拿开锡纸,敲出热气以免蛋糕收缩。然后倒扣蛋糕,待凉后才脱模切片享用
- 喜欢的话,可以把牛奶换成无糖豆奶, 椰奶或香兰汁增加香味。
- 食谱来至于这里
Looks absolutely gorgeous! Love how tender it looks, Ann.